Before we start making our first map, we need to download several files. There are three indissociable things: the Quark map editor, the Q3TC addon for Quark and the map compiler. The Quark map editor will allow us to create the geometry of the map. The Q3TC addon will allow us to add to the editor the specificities of Q3TC. And finaly, the map compiler: it will allow us to transform the Quark map file into a playable map in Q3TC
-
- Map editing sofware: http://quark.sourceforge.net/download.php
- Map compliler ( with docs and sample ): http://q3map2.robotrenegade.com/
- Specific entities For Q3TC ( kindly given by [NL]Freshmeat ): Tc entities for Quark
- cleanshaders : this fix some error with the common shader. This is verry important.
- common-spog.pk3 : It add nice picture into the texture browser insted of broken link. don’t think. Take it.
There is also some other files that may be needed in some case
- zlib1.dll ( only needed if the file is missing at first compile): zlib1-dll
Ok, now we have Quake Army Knif!
What are you waiting for? Go on, install it!
Ok cool, Quark is now installed. The first thing we need to do is to tell him we are going to work with quake 3.
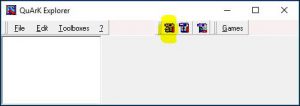
This can be easily done in a few click. At the top you will see a button call “Games”. Navigate and select Quake 3.
Now Quark know that we are ready for Q3. We now have to setup up the path of Q3.
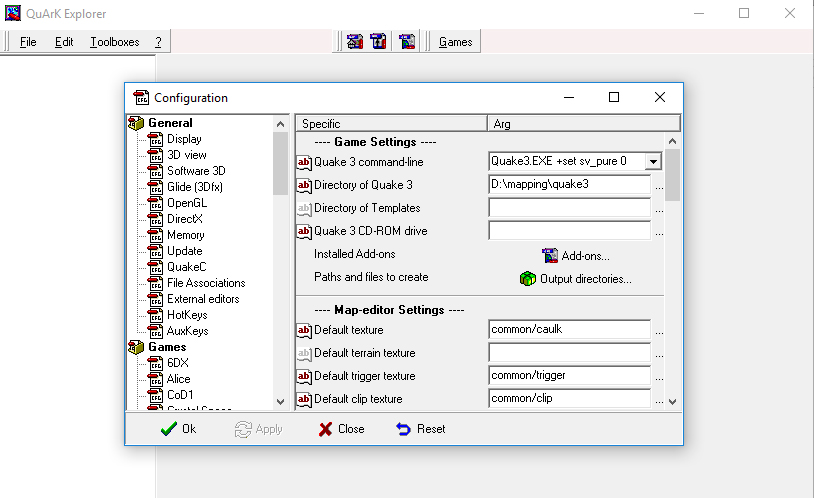
Click “Games -> Configurations…” at the bottom. Then enlarge the window.
There is 3 majors settings:
- Game sttings
- Map-editor setting
- Build programs Execution Sequence
Game Settings
Qauke 3 command-line: Don’t change anything, this is the basic.
Directory of Quake 3: At the end of the line, click on “…” and navigate to the folder of Q3.
At the bottom click “Apply”
Map-Editor settings
Default texture: change this and choose “id software Shaders -> Common -> Caulk”
At the bottom click “Apply”
Build programs Execution Sequence
There is four programs. 3 are for q3map2.exe and one for bspc.exe. And each sequence came with command-line arguments. Let me explain you why:
-
- The first sequence (+BSP) is building the geometrie.
- The seconde sequence (-VIS) is computing the visibility tree. This tell to the game engine what to rendre when the player is moving. The game engine can not render everything all the time. So we have to tell him what to render. We will see this part in another tutorial because it is a pretty technical part. But it is very important to understand how it works. Without this, our maps will not be playable because we will not have enough FPS.
- The third one (-LIGHT) compute the light. This phase can take a very long time depending the map.
- And the last one (-BSPC) are for the bots. When you play alone. this sequence is not necessary. We will see this part in another tutorial.
For each sequence, you have to set the path to q3mp2.exe and, for the last, to bspc.exe.
Don’t change the command-line arguments. We will see that part later.
At this point, Quark is ready for Quake 3 !
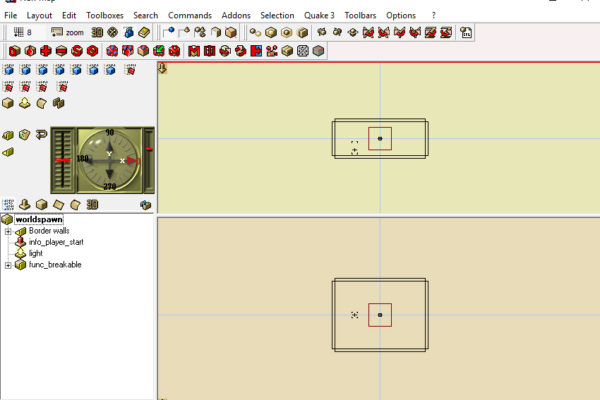
Let’s create a new map and let’s make a test, a first map compilation. To do this, click on that button.
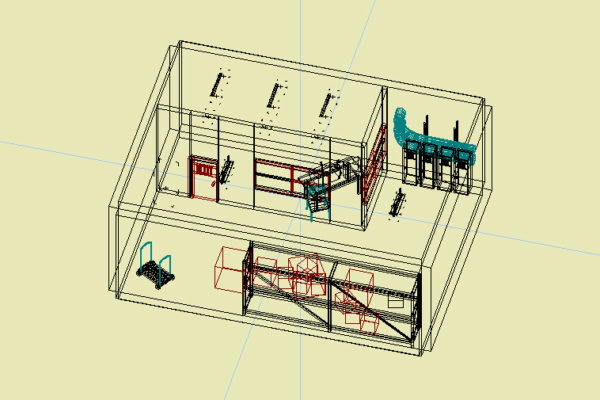
As you can see, the real map editor just showup.
At this point, don’t try anything but compile the map, nothing else.
To do that, look at the top menu and click on “Quake 3-> Go!”, or use the shortcut ctrl+r.

If a an error message occurs telling you that zlib1.dll is missing, don’t worry. the file is available at the top of this tutorial. Put the files next to q3mp2.exe and it should be ok.
For technical reasons you need to add a few files into the baseq3 folder ( located in the root folder of Q3 ).
- extract the content of cleanshaders into baseq3
- extract common-spog.pk3 from common-spog.zip and put it into baseq3
Now Quake is reday for Q3. But we want it to be ready for True Combat!
Setting Quark for TC
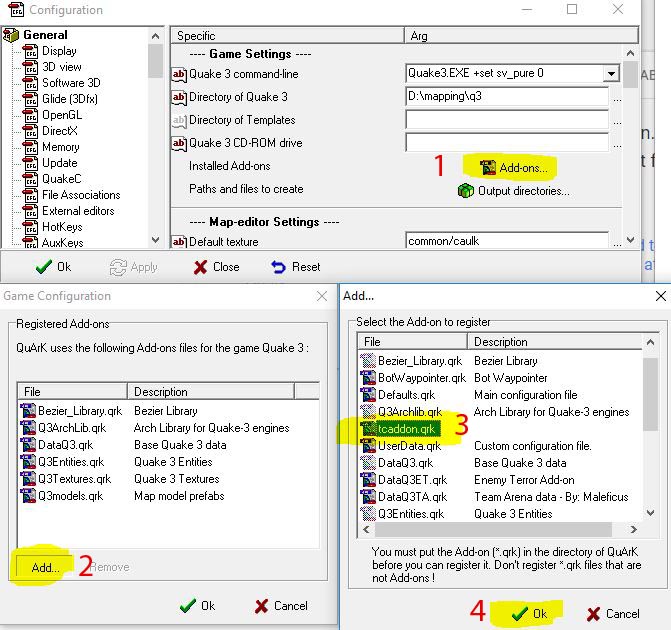
The first thing we need to do is to past the file “tcaddon.qrk” into addons folder. This folder can be found at the root folder of Quark. Then go back in “Games -> Configuration”. At the end of “—-Game Settings—-” click on “Add-ons…”
We have one last thing to do. When Quark compile a new map, all the output file goes into a folder called “tmpQuArK” at the root of Q3. We cannot change that output directory. Therefor we have to copy all the Q3TC files into the “tmpQuArK” folder.
Why?
Because when Quark start the game with the new map, it add a command that tell to Q3 to use “tmpQuArK” folder as mod. And we want to try our new map into Q3TC. That’s why we have to copy all the Q3TC file into that directory.
Once it’s done, edit the file “tmpQuArK/description.txt” and replace “TrueCombat Beta 1 ” by “TrueCombat Beta 1 Mapping”.
Why? ( again )
Because if you run Q3 after copying the files to Quark’s temporary folder and want to load a mod, you’ll see “true combat” twice. You will not be able to tell the difference between the real “True Combat” and the “tmpQuArK” folder.
Edit:
In some cases, depending your computer configuration, quark will not be able to link the sharder with the textrue. This end up with missing texture in the “texture browser” for the shader.
The only solution i’ve found is to make a copy of the True Combat .pk3 into the the basq3 folder.
You’re now ready for action!